Davinci Resolve
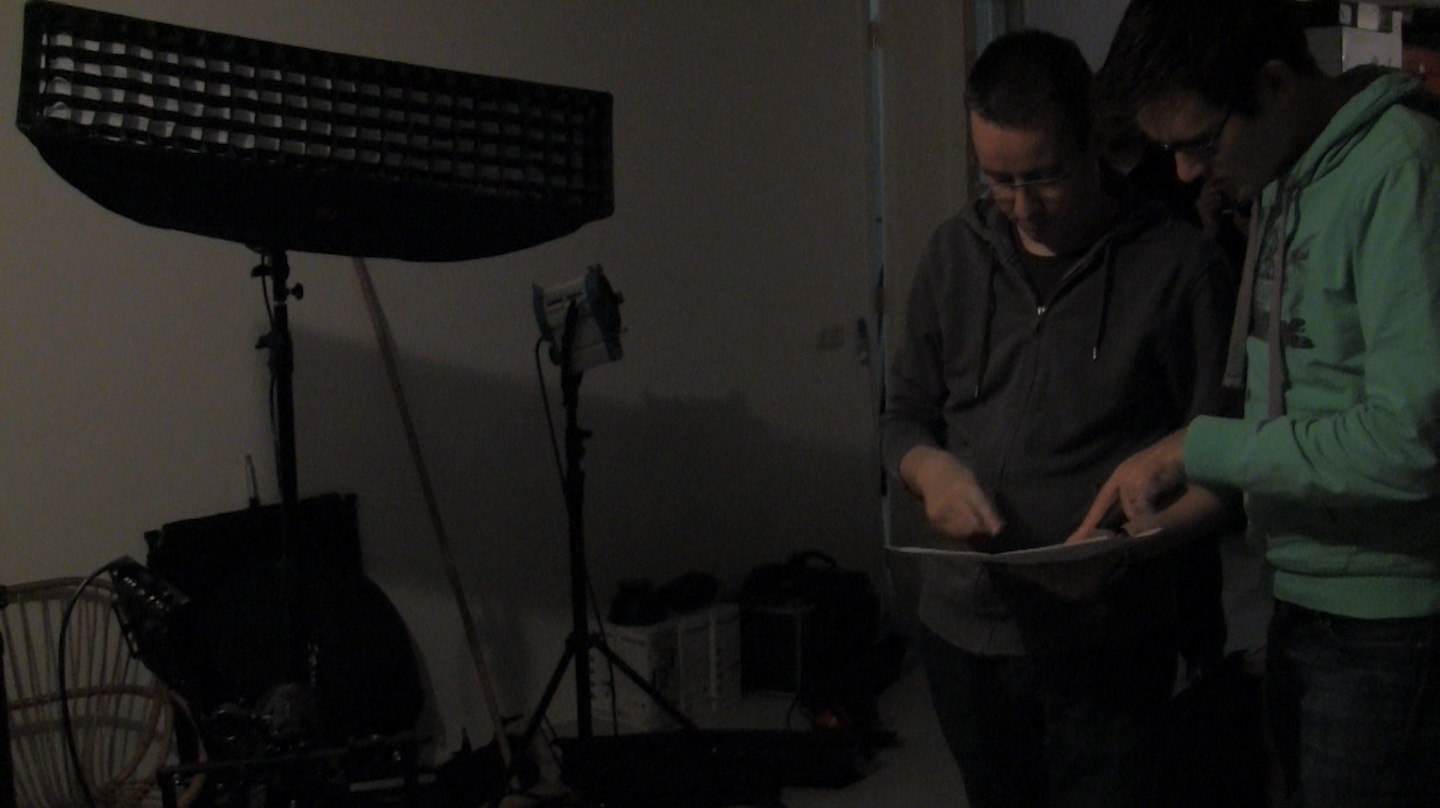
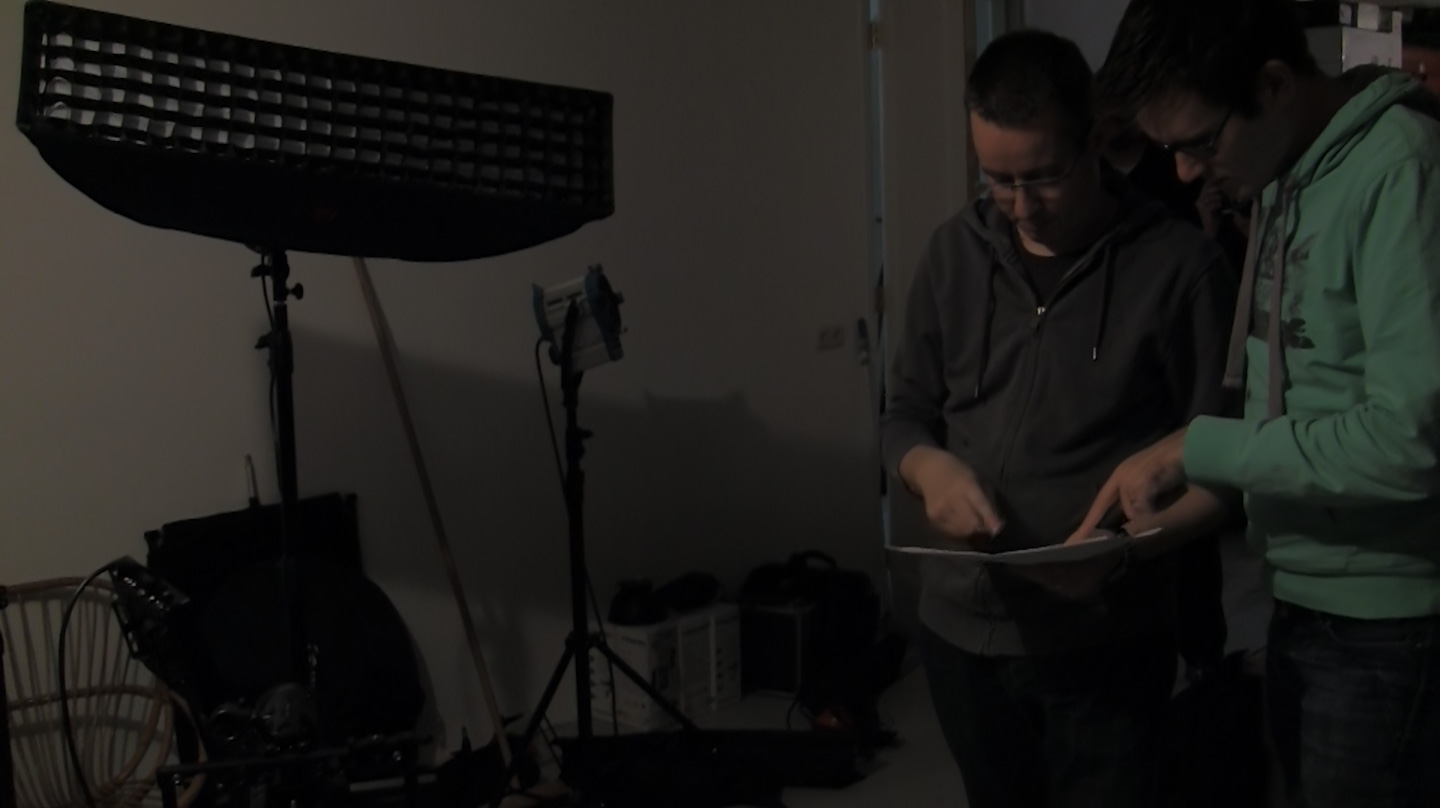
I attended a two day course on Davinci Resolve a couple of weeks ago. I also have been reading up on colour correction with the excellent book “Color Correction Handbook: Professional Techniques for Video and Cinema” by Alexis van Hurkman. A well worth investment if you’re serious about colour correction/grading. I have been playing a bit with colour grading in the past but wanted to get more serious about it to improve my final image. After finishing the course I knew what Resolve could do and was really impressed with it. I installed Resolve with the intention of using it to grade my short film and the music video I shot recently. However, I started with colour correcting the behind the scenes footage that was shot during the shoot of my short film “I Want To Believe”. This article is about the workflow I used and the things I’ve encountered. I hope this will be of some use for those of you who are starting out with Davinci Resolve.
There is no such thing as a free lunch
But first a little bit about hardware. Although Davinci Resolve Lite is free, you do need a powerful computer to be able to work comfortably with Resolve. Lots of RAM and a powerful GPU card is a must. I’m using a PC system with Intel i7 6-core CPU at 4GHz (overclocked), 32GB RAM and a GTX680 GPU card and I haven’t noticed any performance issues yet when working in Resolve. The GPU card and plenty of RAM also adds a nice performance boost when working with Adobe Premiere and After Effects.
Workflow
As my camera (Panasonic AF100) shoots AVCHD and Premiere can edit this codec natively I never bothered converting to a intermediate codec. However, Davinci Resolve cannot import AVCHD files so I had to convert my timeline to something else to be able to import the edited footage into Resolve. The two main codec choices are Apple ProRes and Avid DNxHD. As I’m working with the PC platform, ProRes isn’t really an option (that is not entirely true but I won’t go into that here) so I installed the Avid DNxHD codec. My workflow looks like this.
AF101 [AVCHD] -> Premiere [DNxHD] -> Resolve [DNxHD] -> Premiere -> final export
For future projects I will first convert the source clips from the camera to DNxHD so I can reference them from within Resolve by using XML or EDL files which eliminates the use of using scene detection in Resolve of the rendered timeline as I have been doing now. This speeds up the process and adds more flexibility when changing things.
Using Davinci Resolve
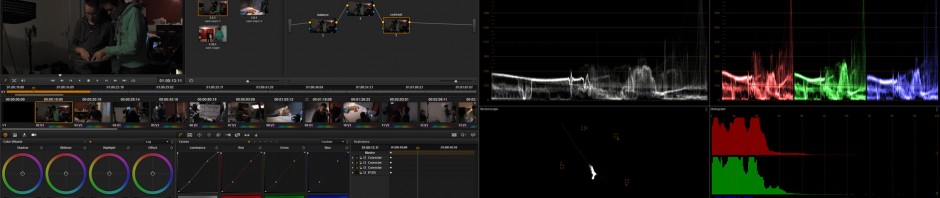
The UI of Resolve does look rather complex at first sight but once you know what everything does and where everything is I find the UI very easy to work with.
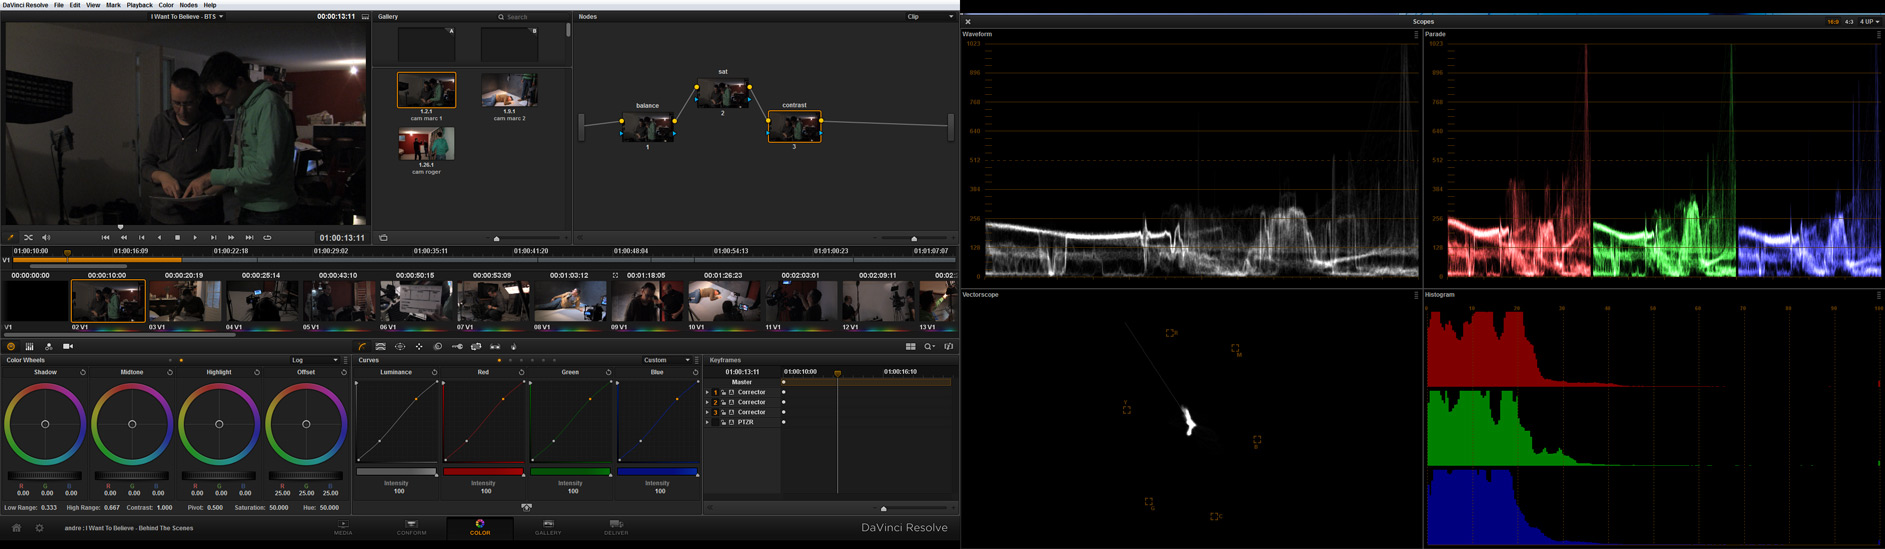
Davinci Resolve is node based, unlike Adobe Speedgrade and After Effects which are layer based. Node based means that you can split up every treatment of your image in separate nodes and chain them together to do what it is you want. I’m used to the layer based way of working but I think I like the node based workflow better. It is easier to see what is going on as you can see the actual “signal path” in the node diagram, something which is not as clear in the layer based approach.
Resolve has some great functionality like power windows, movement tracking and the ability to key frame about everything you do in your grade. For example, it is very easy to track the eye of an actor and change its colour by using the tracking function combined with a power window while targeting a specific colour to change. The sky is the limit here.
The key thing is: just do a lot of colour grading. See what works and when. It’s the only way to get better at this.
Exporting from Resolve and importing into Premiere
It was sort of a struggle to render the imported footage from Resolve in Premiere. The imported footage from Resolve looked just fine in Premiere but when I rendered it out there where all kinds of weird psychedelic colour casts in the high lights (see below).
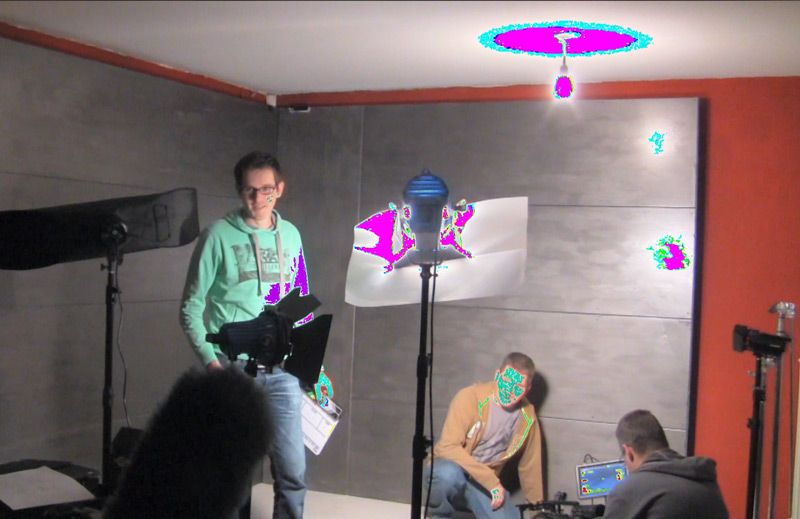
There is a setting in the Delivery page of Davinci Resolve which apparently caused this: “Set to video or data level”. I had set this parameter to “Unscaled full range data”, thinking this would preserve all information of the grade. Checking this with the waveform scope in Premiere acknowledged this and the visual preview in Premiere also looked just fine. But when rendering the clips to h.264 the weird stuff above happened. I cannot explain what happened or what caused this strange behaviour…
So I tried exporting from Resolve with the option “Normally scaled legal video”. Basicly what happens is that Resolve renders the video file using RGB levels between 5 and 95%. The resulting image in Premiere looks a lot less contrasty as the black point of the image is lifted and the white point is lowered. After correcting this in Premiere the clips rendered out fine.
A third option I tried, after reading posts about similar problems on the Blackmagic forum, was exporting the footage out of Resolve as an image sequence like DPX. This worked best. No colour shifts or contrast adjustments while playing the clip in Premiere and the final render looked like it should. Only problem with this method is the giant amounts of disk space you’ll need to store the image sequence. A 10 second 1080p clip takes 2 Gigabytes of disk space. Also, rendering the image sequence takes a lot longer. I guess quality has its price…
According to people at the aforementioned forum, the cause of the problem is the Quicktime container used by the DNxHD codec which renders unpredictable results regarding colour space and gamma of the encoded footage. So, be very careful when using Quicktime for exporting your graded footage out of Resolve.
UPDATE: After reading a bit more I found out that the “Render with maximum bit depth” option in Adobe Premiere/Media Encoder causes the same colour artefacts as I described for a lot of people. Unchecking that option will solve this issue.
Using noise reduction
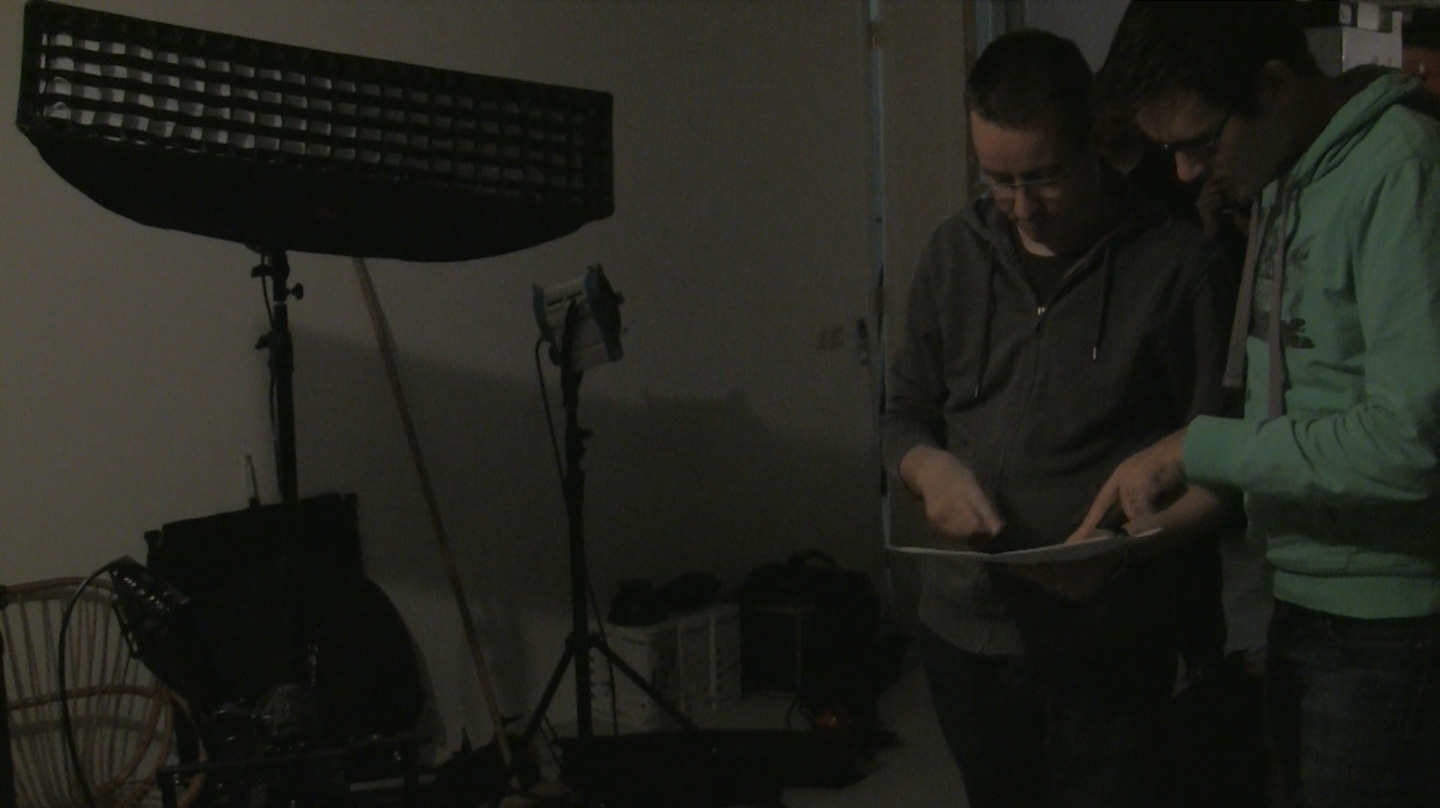
I recently bought Neat Video’s excellent noise reduction plugin and saw something strange when using the plugin to enhance low light shots in the behind the scenes footage I was editing. I applied noise reduction in Adobe Premiere and then exported to Davinci Resolve. While colour correcting I noticed horrible banding and artefacts appearing in the de-noised footage. After researching a bit on the internet I am not the only one experiencing this. Unfortunately there is no agreement on when noise reduction should be applied. One half of the people stating that noise reduction should be done BEFORE grading and the other half declaring it should be done AFTER colour grading. My experience is to use noise reduction after the footage has been graded to avoid unwanted artefacts. Check out the screenshots to see the result of the processing of the image. In Resolve I only colour corrected the image and applied some contrast adjustment using custom curves. Applying Neat Video’s noise reduction as the last step results in an acceptable image. Click on the frame grabs below to see a larger version.
Conclusion
I love the possibilities Davinci Resolve offers and how much easier it is then using the built-in colour grading tools of Premiere.
If you’re serious about colour grading I strongly suggest investing some time to learn a tool like Davinci Resolve. However, even more important, learn the underlying colour principles. It can greatly improve the production value of your work.