The problem with building your own modular synthesizer is that, when you have actually finished a couple of modules, you need something to hold them. So for my Buchlaesque modular I built the cabinet first.
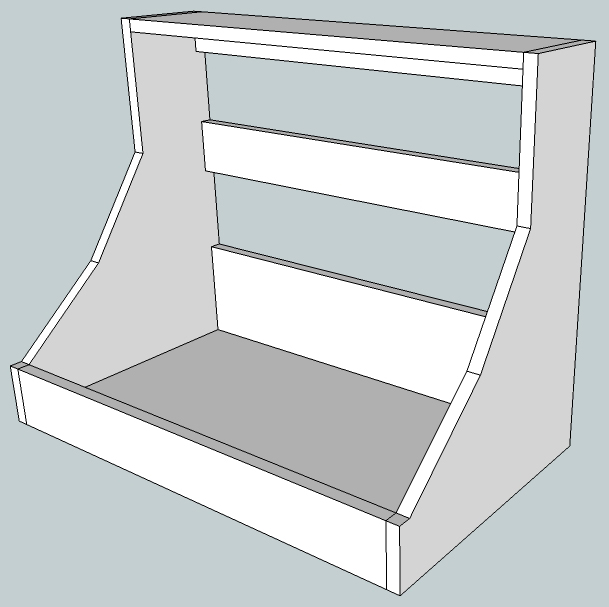
I wanted the cabinet to be as compact as possible and came up with the design to the left. The height of the cabinet is 616 mm (24.3″), it’s 684 mm (26.9″) wide and 240mm (9.5″) deep at the bottom and 151 mm (5.9″) deep at the top. The cabinet contains three rows with room for six standard Buchla sized modules per row. I started with a four row enclosure at first but that resulted in a rather large footprint and although it looked very cool, I decided against that.
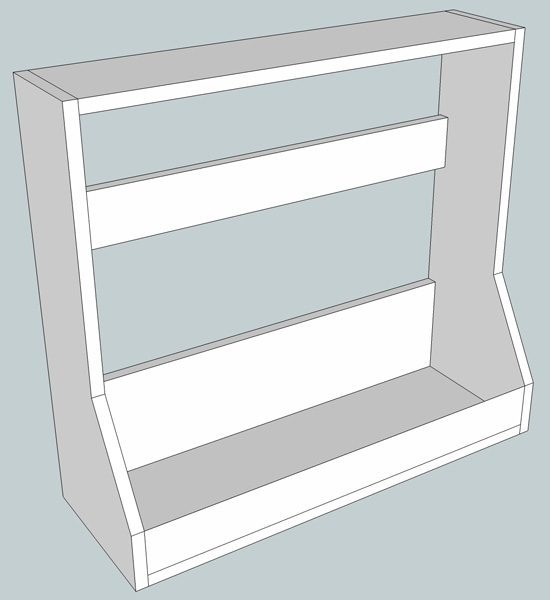
Although the design above was OK, I played around with it a bit more and came up with something better. The footprint of this cabinet is larger than the previous one but it looks much more Buchla. So that was the one I went for. It’s still a three row cabinet with room for 6 modules in each row. The dimensions are 684 mm (26.9″) wide, 544 mm (21.4″) high, 397 mm (15.6″) deep at the bottom and 140 mm (5.5″) deep at the top. I do want to built an accompanying enclosure for a touch keyboard and joystick controllers which I can also use with my MOTM modular. But that’s for later.
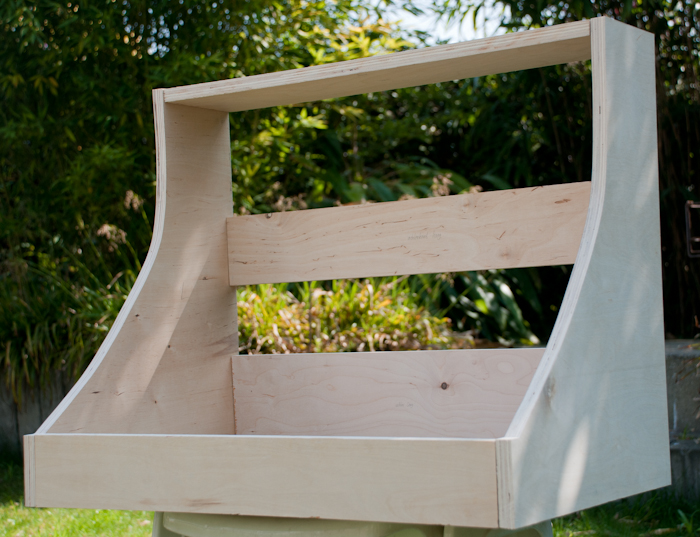
With the design locked I set out to built it. In the picture you see the basic structure of the cabinet. It is made out of 18mm Birch plywood and all glued together waiting to be painted. I changed the side panels a little bit. They are now a fluid line instead of the three angled slopes in the design above. It looks better in my opinion.
And here is the finished cabinet with 4 layers of Mahogany stain applied and two layers of protective lacquer. Before applying each layer of Mahogany stain I carefully sanded the cabinet a bit to make sure everything felt smooth and there were no raw edges or surfaces.
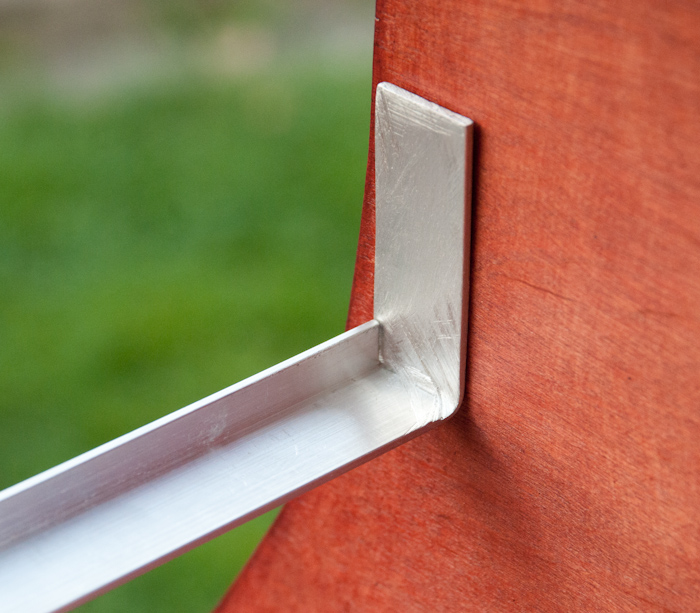
I made six Aluminum rails where the modules will mount to. These are made from off the shelf Aluminum profiles (10 x 20 x 2 mm) which I bend to fit inside the cabinet like shown in this picture.
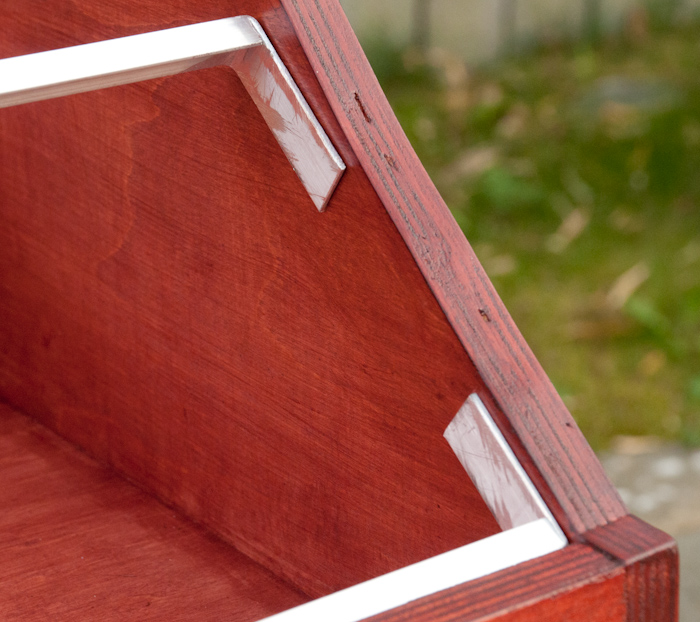
Here is another close up of the rail.
After I had the front panels made I first drilled the mounting holes in the panels and used them to determine where the holes in the rails should go. After drilling the holes and threading them I installed the rails in the cabinet. Everything fitted perfectly.
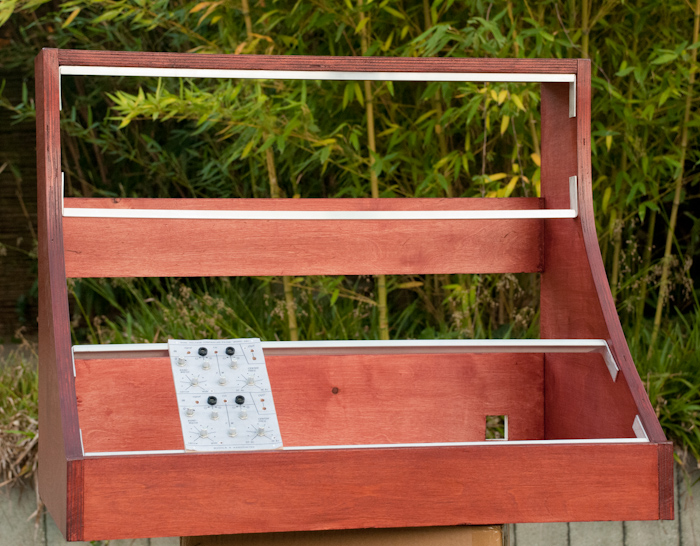
And just to see how it looked I installed the front panels to the rails…
