I have always been intrigued by Mutable Instruments modules but it took me a while to start building them myself. The fact that all modules use SMD components and you have to compile the source code yourself was initially a turn-off for me.
But as more and more people were building these modules themselves several builders uploaded compiled versions of the firmware, ready to use, on forums like ModWiggler. This made me decide to start building some of the modules myself.
The first Mutable Instruments module I built was Branches. I think it is one of the most easy modules to build. It does not contain a lot of components and it uses a ATMEGA88 MCU which can be hand soldered without too much problems.
The second one I tried was Grids, the drum trigger module. I also hand soldered this one but I could not get it to work.
Getting the right tools
So far I had been using the tools I had been using for years building through-hole projects: a decent soldering station.
SMD projects however, especially those with large MCU components with lots of pins placed closely together, require specific tools to get consistent results.
For me, these are the must-have tools to be able to build Mutable Instruments projects (or any other complex SMD projects for that matter).
Microscope
As I’m getting older my eyesight isn’t what it was used to be. I need some kind of magnification to work with smaller components. Usually I use a wearable magnifier lens but that doesn’t cut it when working with SMD.
So I bought a microscope and decided on an Amscope model like pictured below.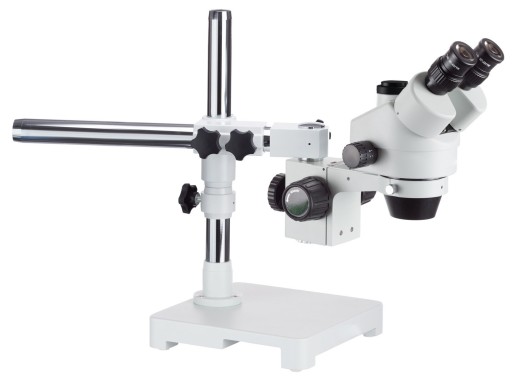
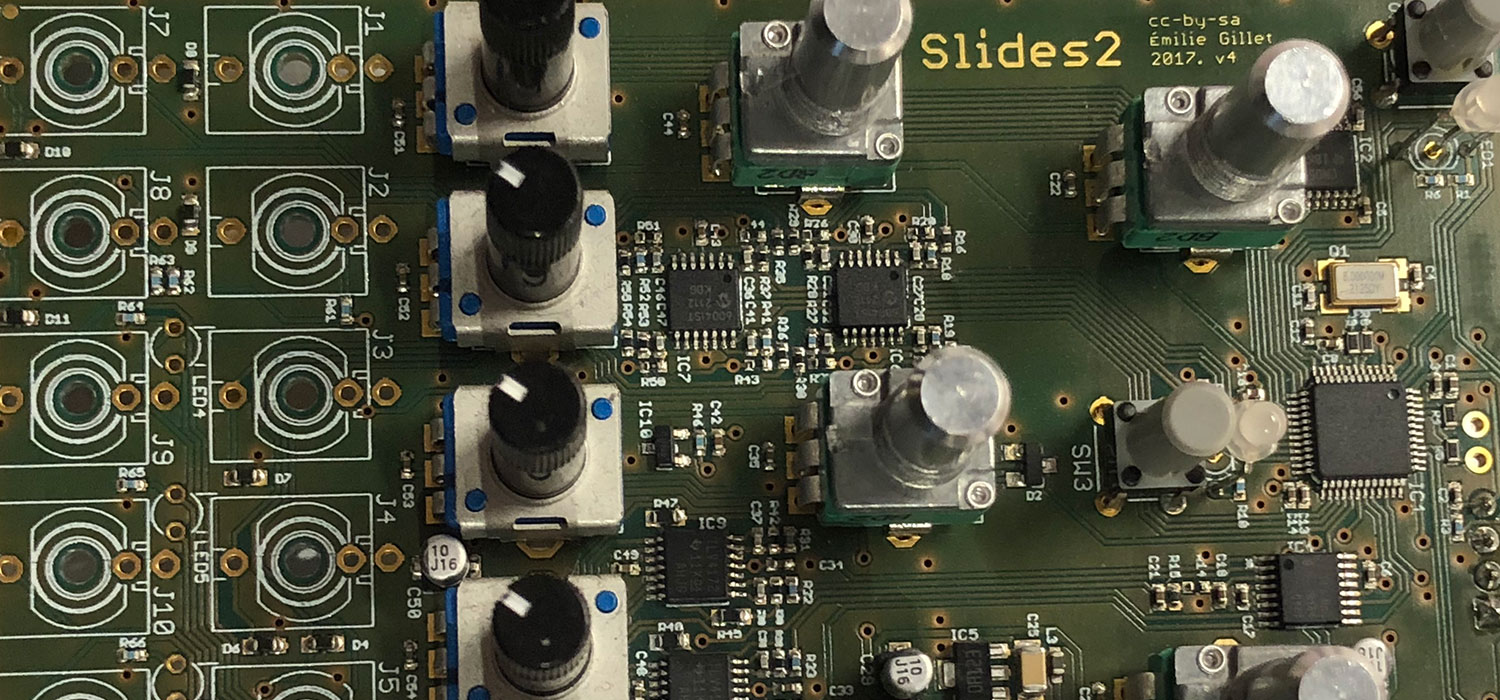
After checking my hand soldered Grids PCB under the microscope it became quickly apparent why it didn’t work. The soldering of the MCU was really bad and had lots of gooey stuff and some very small solder bridges between the pins. I cleaned it and after that the module worked. I could not see that stuff with my normal magnification so I didn’t have a clue what was wrong.
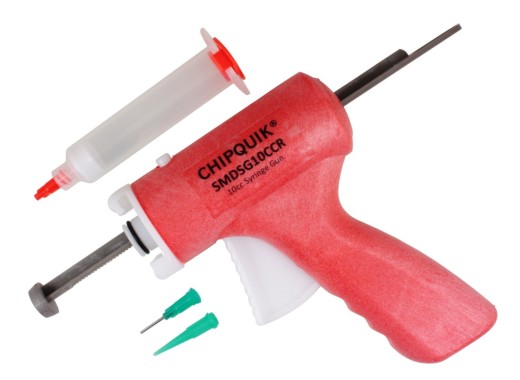
Solder paste
I switched to using solder paste for SMD projects. You do need a tool for applying the solder paste to the PCB. I use a manual tool which works fine for me. It allows me to accurately apply solder paste to even very small 0402 components.
Hot air station
For the actual soldering process you need a hot air station or hot air oven.
I use a hot air station like the one below.
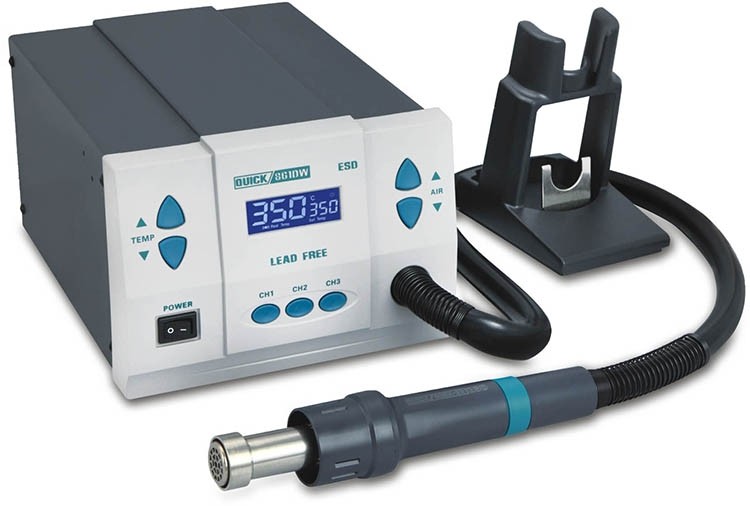
I choose this as it allows me to work on a specific area of a PCB without or disturbing the rest and use it for repair work when needed. For example I used it with success to replace the faulty DAC on my Novation Supernova II synth.
It’s true, I had to invest in new tools but it was definitely worth it. In my opinion, they are essential to get consistent quality results.
Using these tools I have built Grids, Clouds, Rings, Warps and Elements without problems. I used ready to use firmware hex files to flash the MCU.
Firmware compiling
Recently I built Tides 2. I also plan to build Marbles and Stages.
The problem with these modules is that there are no compiled versions of the firmware available as you need to calibrate to modules using measurements on the actual module which results need to be added to the source code and recompiled for use with that specific module.
So, I finally sat down and researched how to set up a development environment to be able to compile the Mutable Instrument sources myself. Thankfully Emilie Gillet, the owner of Mutable Instruments, made all sources open source after ending the company in 2022 and even created scripts to setup the development environment needed to compile the original sources.
Setting up the development environment
Below you’ll find a step-by-step guide for installing the Mutable Instruments environment. I’m on Windows so if you’re on Mac it could be somewhat different.
Download the script files from https://github.com/pichenettes/mutable-dev-environment/tree/master
Download VirtualBox, VirtualBox Extension Pack and Vagrant.
Install VirtualBox.
Install VirtualBox Extension Pack.
Install Vagrant.
Restart your computer.
Start VirtualBox.
Unpack the github zip file (I installed it on d:\dev\mutable-dev-environment)
Navigate to the directory:
cd d:\dev\mutable-dev-environment
Install the virtual machine using the supplied Vagrant script. This process takes about 15 minutes, depending on your computer.
vagrant up
Connect to the virtual machine:
vagrant ssh
The login password is:
vagrant
The directory vagrant/eurorack-modules contains the source code for all Mutable Instruments modules.
cd vagrant/eurorack-modules
When, after initial setting up the environment, you want to start the development environment after starting your computer use these steps.
Start VirtualBox. Do not start the VM manually from within VirtualBox!
Start up Vagrant:
vagrant up
Connect to the VM
vagrant ssh
Logon with password
vagrant
To stop the development environment use
vagrant halt
Exit VirtualBox
The following commands can be used to compile and upload the firmware. Clouds is used here as an example.
Compile the source code, hex file output in /vagrant/eurorack-modules/build/clouds
make -f clouds/makefile
Compile the source code, output bootloader hex file
make -f clouds/bootloader/makefile
Compile the source code, output wav file
make -f clouds/makefile wav
Compile the source code and upload to module via USB programmer
make -f clouds/makefile upload
Personally I don’t use the last command but import the hex file into the STM32 ST-LINK utility to flash the firmware to the module.
Looking back I must admit getting this up and running was way easier than I thought it would be. The fact that all the dirty work is done by the scripts Emilie provided is just awesome.
I hope this guide helps you to get started if you want to compile the Mutable Instruments source code yourself.