
A couple of years ago I built a small 18U Buchla cabinet for a couple of Buchla 200 series modules I had build together with some Buchlaesque modules to go with them. However, this cabinet cannot house any more modules and it was time to build something new. Something bigger. I decided to go for a really big cabinet, as large as I could fit in the last remaining space of my small studio. This would provide enough space for the modules I have and the ones I want to build in the future.
Designing the Buchla cabinet

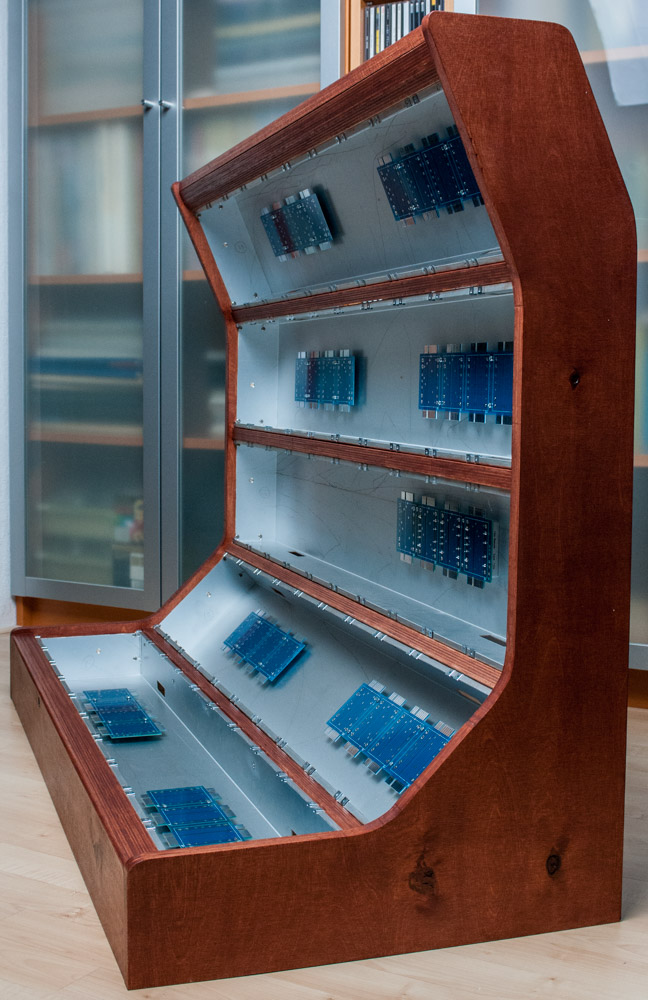
I recently bought a new jigsaw so this project would allow me to use more fluid lines in the design of the cabinet. I also wanted the cabinet’s footprint to be as small as possible so I still have some room to walk around in my studio. It’s getting pretty stuffed in there!
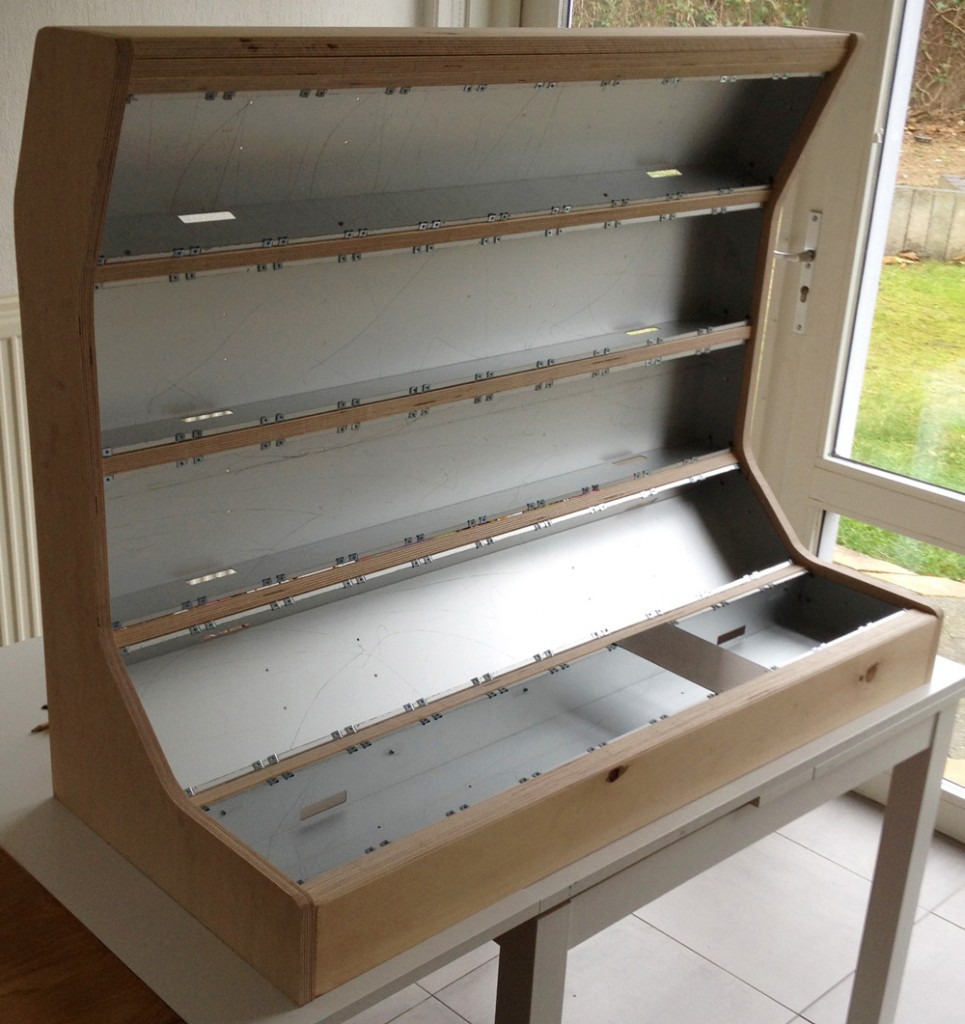
I bought five ready to use 10U Aluminium boats for housing the modules. I used the boats to design the side panels of the cabinet and to check of everything would fit. I used wood elements between the boats to give the cabinet just that little extra look. Although the “standard” Buchla cabinets look pretty nice, I just wanted to add something special. So between the boats I planned for an 18mm piece of wood, which is screwed onto the side of the boat for a tight fit. The final dimensions of the cabinet are 112 x 49 x 86 cm (44.1 x 19.2 x 33.8″).
When I was satisfied with the design I cut it out and used that to copy the design onto the plywood.
Building the cabinet
I used 18mm thick Birch plywood for this cabinet, the same as I used for the other cabinets I’ve build. I like to work with this wood as it’s very sturdy but easy the work with and I can get it locally for a good price.
I started with cutting the side panels. I used the new jigsaw and this made the job so much easier compared to working with my old jigsaw. It just shows that good tools make your job just so much easier! After cutting the side panels I cut five pieces of wood for placing between the five module boats and two pieces of wood for the front panel. I then screwed the boats to the site panels and it fitted perfectly. I glued everything together and let it dry for a day.
The final touches
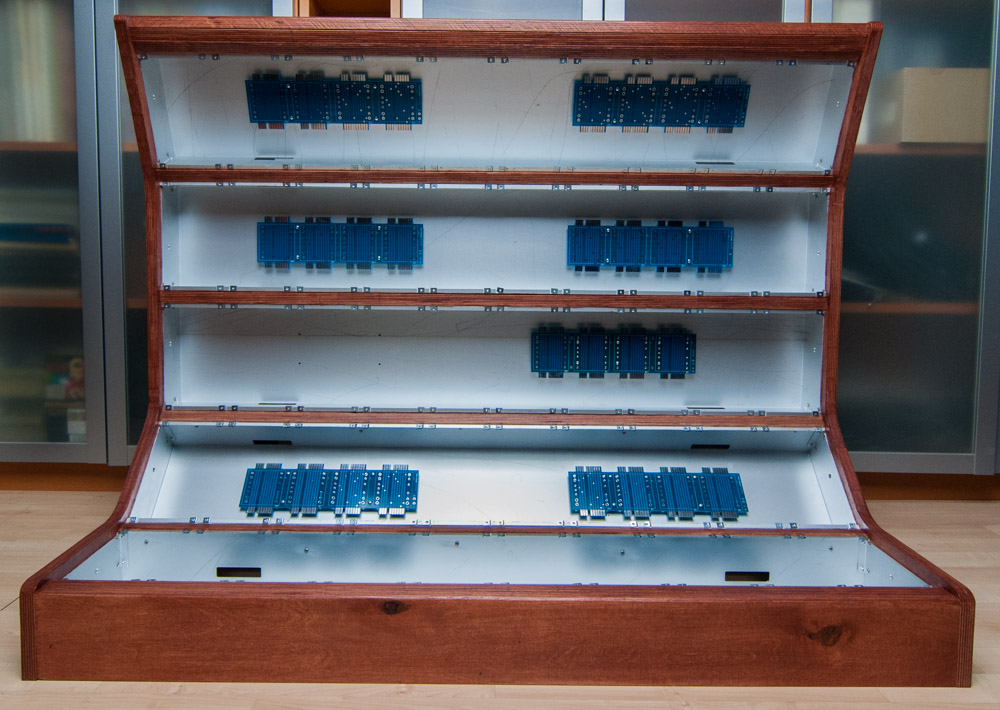
After letting the glue dry for a night I sanded the cabinet and applied two layers of Mahogany stain and one layer of protective transparent lacquer. Letting it dry for a day I could start with the electrical part of the cabinet: installing the power distribution boards and DC power input and power switch. I plan for two separate power switches and DC inputs as one power supply will not be able to supply enough current for a fully filled up cabinet.
I add a final photo when everything is wired up…